It all Starts with an image.
For our final project of the semester, we were tasked to create a procedurally generated terrain that can be used in-game for pathfinding, as well as a tool for Unity game developers to utilise to create and save their own worlds within the Unity editor. I wanted to experiment with methods of input seeds to generate these procedural worlds.
Requirements:
Procedurally generate an in-game world for gameplay to take place on.
Generate a navigation mesh during generation that AI agents can utilise during runtime.
Procedurally place in-game items that AI agents can interact with (grass, trees, rocks).

Final Product
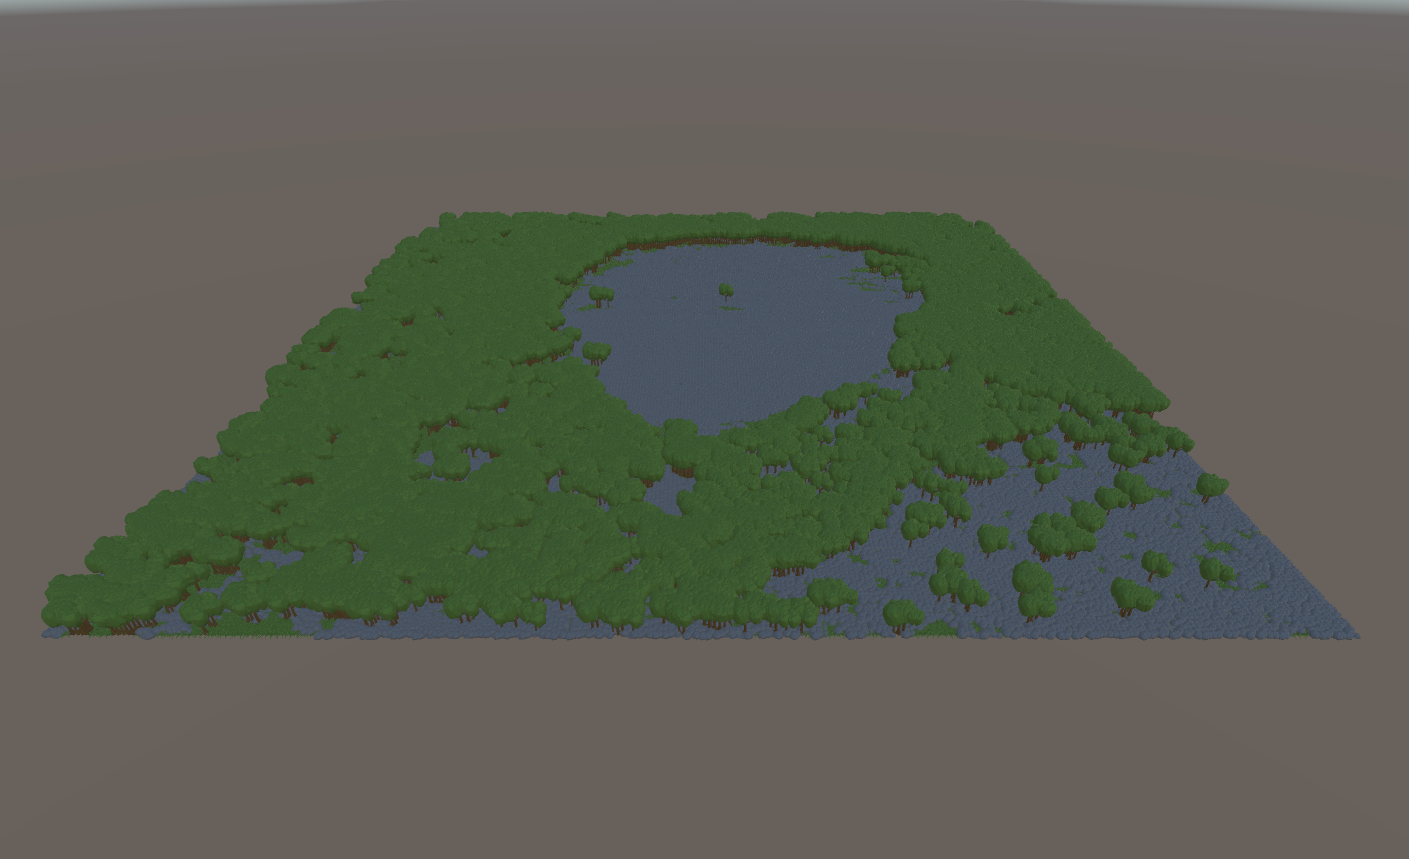
The process of creating a mesh and placing prefabs on specified vertices. Generated using an input image, each pixel has its RGBA values read and procedurally creates a mesh with trees, rocks, and grass.

The input painted by a developer as the seed of the procedural terrain generator. Red pixels place rocks, green grass, and blue trees. The alpha value (the monochrome / black pixels) dictates the height of the terrain and allows the creation of hills.

As the opacity dictates the height of the vertex of the mesh, the input image actually looks like the one above. This is because the opacity of the coloured pixels needs to be taken down to 1% to not interfere with the terrain generation. This can be improved if more work is done on the project.

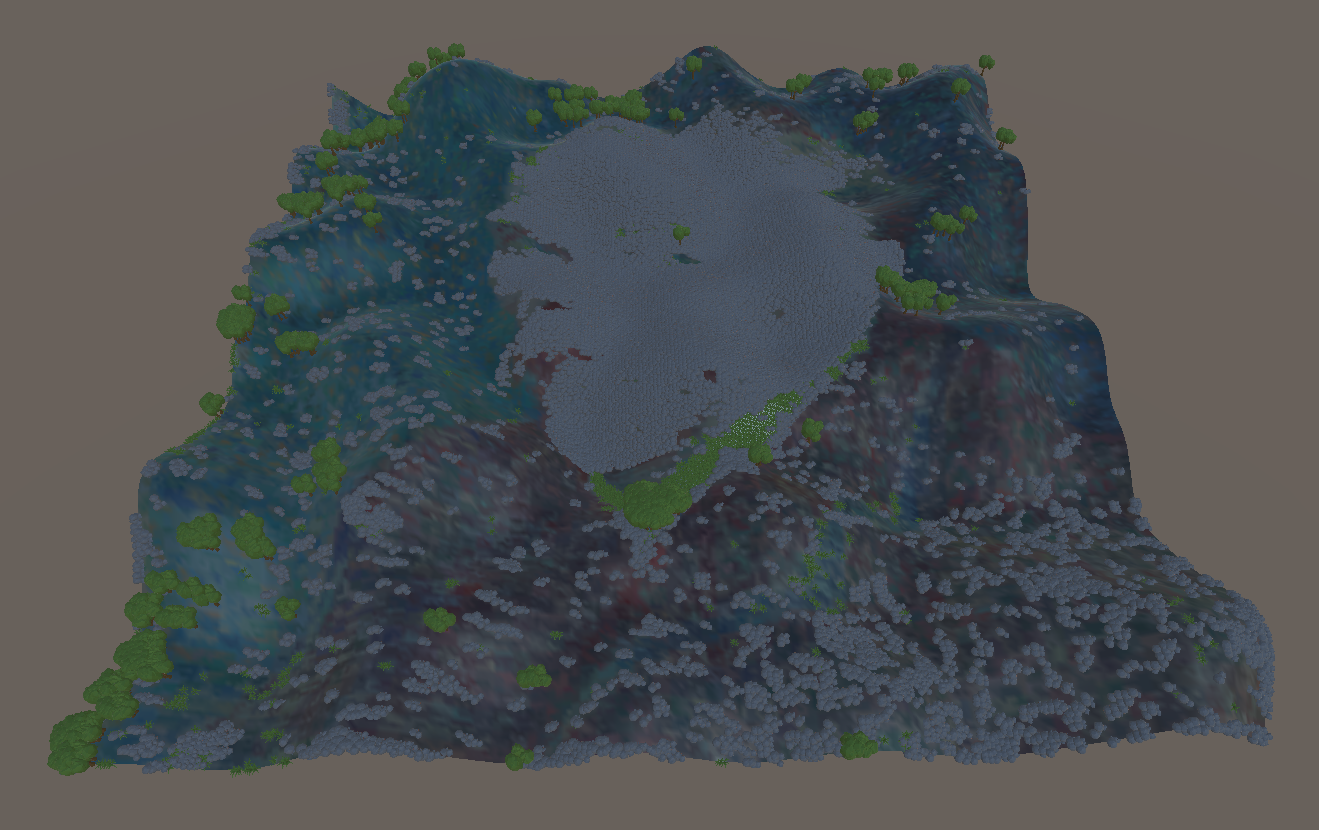
The AI agents can then use the navmesh generated to move around looking for food (shown above). The navmesh contains data for where on the mesh the agents can walk or if the terrain is too steep for them (coloured grey). But what other ways can this be used?
What if we put art or some other image as the seed image?
Well most images have full 255 value alpha as they are the final product, and there would only be specific cases for an image to have less than max opacity. Lets look at an example of passing in some art and see what happens:
Can you recognise this image? Not really. Clearly the colours create a game object at every point there is a pixel, making it so crowded that AI can’t even be placed let alone pathfind.

The original image.
What would we have to do to make this work?
First lets limit the value the pixel needs to be to be allowed to place a game object, only the most saturated pixels with clearly defined highest values (e.g. high red value but low green and blue values) will allow placement of game objects.

That’s a bit better! A bit rocky but there are a fair bit of reds in the original so looks about right to me. But now we have another problem, it’s perfectly flat, i.e. boooooring :/
To fix this we can add some simple noise (for the first implementation perlin noise was chosen) to the height offset of each pixel since we may be using images like this that wouldn’t have alpha values designed for this sort of work.
Currently this takes two inputs for the noise, the scale factor (how much of the noise we are reading, producing more hills and valleys within the final mesh) and the height multiplier (increases or decreases the final height difference between high and low values within the noise, producing steeper or flatter terrain).

Perfect! We can now input any 256x256 image and output something that looks like it could be used in a game, AND that output already has navmesh worked out for that specific terrain.
This is where the requirements have been met (and exceeded for the project) and my study concluded. This technique of using the RGBA channels was covered during our 3D modelling subject and I was inspired by that method of storing data that I just had to try something like this for my last programming project before graduating.
How could this be expanded / refined?
Performance
In-editor slow down as data is shown in the inspector for the building / debugging, but final tool will hide unnecessary information.
Refactor the processing and object instantiation to be more mindful of CPU constraints and increase performance through optimisation.
Features
Allow other noise options for input images to produce different heights and terrain.
Allow for higher resolution images to be used as input as the performance currently restricts the input to smaller sizes.
Potentially open multiple images for different data, e.g. an image for vegetation, using its RGB channels for different plants, and alpha for density.
All in all I am very happy with what we accomplished. This project was a joint effort between myself and two classmates, Sam Buckley and Andy Doan at SAE Institute Brisbane. I was responsible for the processing of the image data, Sam was responsible for the mesh generation using my data, and Andy was responsible for the AI agents movement and GOAP decision making.
For fun we could even use the original image’s colours while still generating a valid terrain mesh and navmesh. While this is just a small extra feature for the Van Gogh image, this could be utilised for custom texturing of the terrain in 2D before generating it in 3D.